JMKs Extra Cowon X9 Instructions.
The instruction manual that comes with the Cowon X9 is pretty $#!+ really, like the amount of effort they put into the interface on this thing. Ive come up with some extra tips, so that new users can find their way around the not so obvious symbols on the screen. I will update this when I can. Feel free to send in your own tips and suggestions for additions to the guide. This will be permissible for all time. So dont hesitate to do so in 10 years or more. (So long as my web site still exists.) But please, no pictures / collections of pictures over 200 KB.
When youve added new videos, let the player create the preview images the 1st time around, when you go back to the file listing, or it will try to do it every time, and screw up your positioning in the file menu. It shouldnt need to do it again until you next change the video line-up. I found it can be best to delete the video database files, or whatever they are, every time you add or delete videos from the player. It will need to remake the preview images each time, but it prevents screw ups later on.
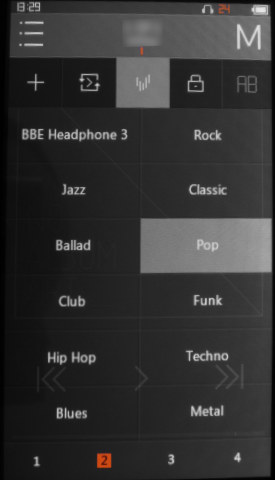
Usually at the top of the display, is a little orange line. If you press just above it, a menu will appear out of nowhere with extra symbols.
|
Wherever you see these offset vertical lines, that means you can access the equaliser settings.
The + symbol on the left lets you add to your favourite list or bookmarks. The lock determines if the orientation sensor will allow the display to rotate or not. Use the AB symbol to set repeat points. |
|
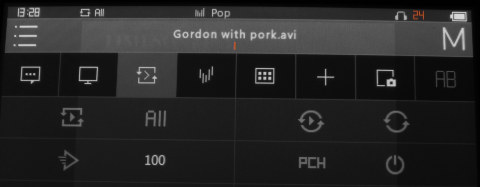
Touch this top symbol to access the lower repeat and play speed options. The one on the far right determines how fast the music plays. You can go up to 1.5 × the speed and down to ½ speed. |
|
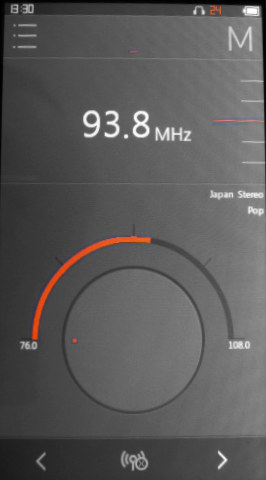
Press and hold the arrows to make the radio search for the next station. It will then start searching, and you can let go. |
 |
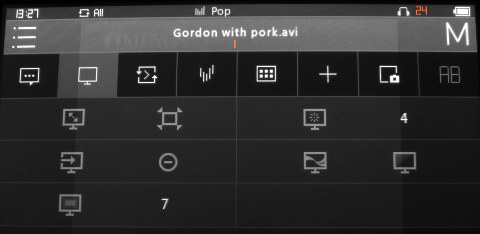
You can adjust the video playing speed, like the audio. Touch the arrow at the bottom left to alter the speed. The rectangle with the 6 squares in it will make up a bunch of points throughout a video that you can visually select. The 2nd symbol from the right will take a screen shot. The symbol that looks like a rectangular speech bubble with dots will display subtitles, if you have them. The 2nd symbol is explained below. |
|
On the right, is a symbol that looks like a star on a monitor. This is the brightness control. At the bottom, is another one with a 7 next to it. This is the video contrast. At the top left, is a symbol with diagonal arrows. This allows you to adjust stretching and aspect ratios. Im not sure what the 2 do in the middle row. Possibly something to do with the optional video output cord. |
Heres how you can easily create a play list in WinAmp, using a M3U file. Plug your X9 into your PC if you havent done so already, and then save any play lists you may have in WinAmp, obviously. Unless you dont care for your current line-up! Drag in the 1st song you want from the X9, to WinAmps main window, which will add it to a new list. Then drag in the other songs you want from your X9. When youre done, save the list to your Music directory on the X9. When you next use it, go up from the Folders level, until you find Playlists, and your play lists will be shown in there. You can then choose it for the X9 to play the listed music. You should make sure you have plug-ins installed for WinAmp that will handle the files you want the X9 to play as well. Such as FLAC, Monkeys Audio and Ogg, if you intend to use such formats. There should be official ones of each, that are available for WinAmp. (Making a play list may work for videos too, but I wouldnt bet on it.)
To record from the radio, obviously enter the radio section, and touch the area above that mysterious little orange line at the top in the centre. A menu will appear with a small circular symbol and a ring around it on the very right hand side. Press this to begin recording. This seemed to be a slightly common question over @ Amazons web site, so I thought I would mention it here too.